 wr1t3r
Help
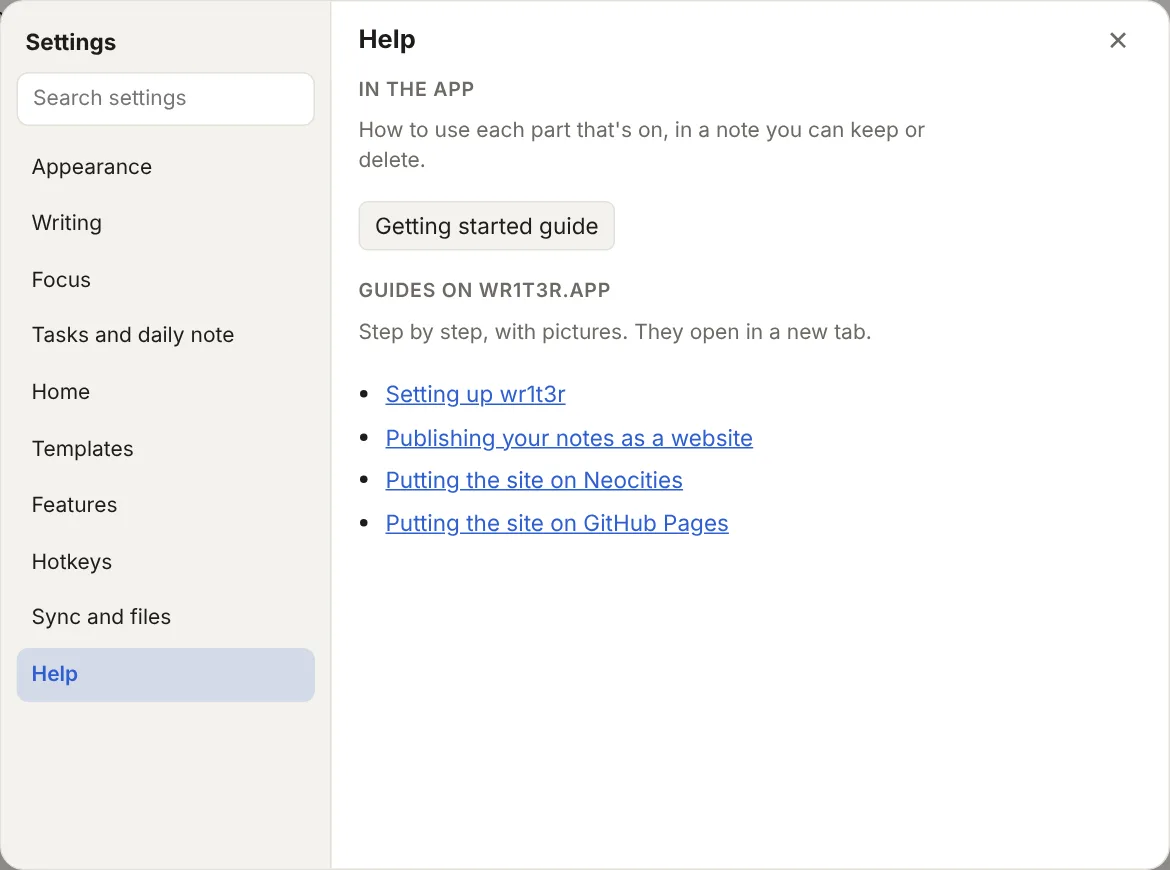
Step by step, from first sign-in to a website with your notes on it. In the app, Settings > Help links back here.
Setting up wr1t3r
-
Open my.wr1t3r.app in any browser. On an iPhone or iPad, tap Share, then Add to Home Screen, and open wr1t3r from there. Safari clears a website's saved data after a few weeks unless it's on the Home Screen.
-
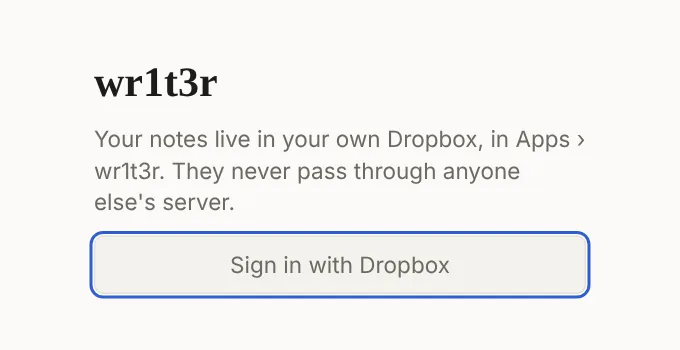
Sign in with Dropbox. wr1t3r gets one folder of its own, Apps › wr1t3r, and can't see anything else in your Dropbox. Your notes go straight between your browser and Dropbox; they never pass through a server of mine.
-
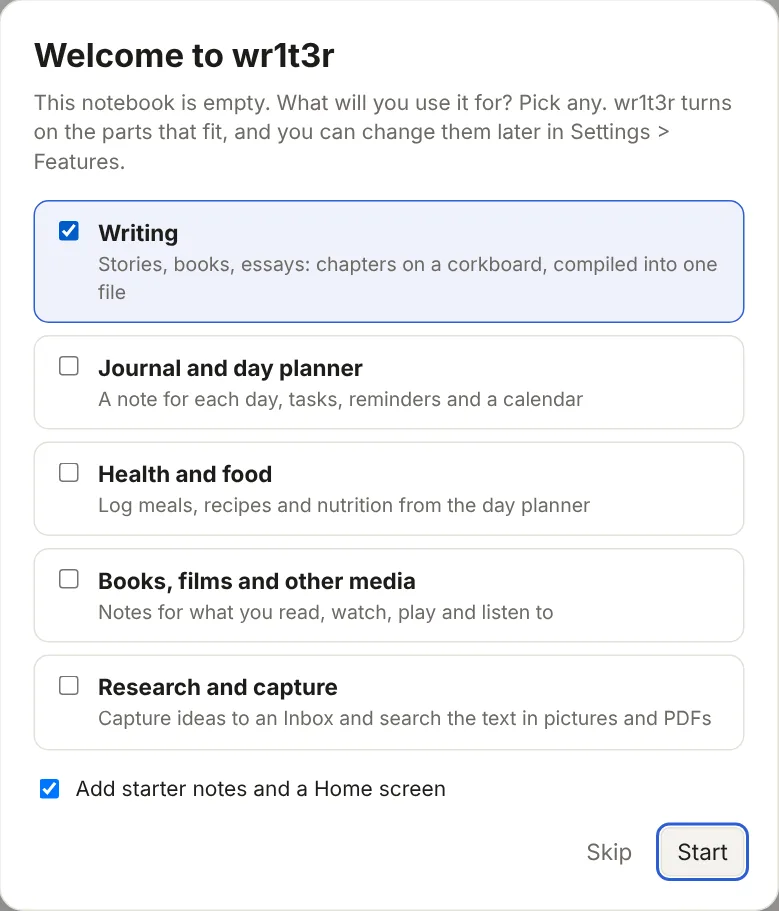
Pick what you'll use it for. wr1t3r turns on the parts that fit. Leave Add starter notes and a Home screen ticked if you'd like a few notes to start from. You can change all of this later in Settings > Features.
-
Read the Welcome note. It explains each part you turned on. Delete it when you're done; Commands > Getting started writes a fresh one.
-
Already have notes? Put your Markdown files (and their pictures) in Dropbox › Apps › wr1t3r. They show up when you switch back to wr1t3r.
-
Enter your license key in Settings > License after you buy. Everything works during the 14-day trial.
Publishing your notes as a website
wr1t3r builds a website from the notes you choose, as plain web pages you can put on any host. Nothing is published until you say so.
-
Choose the notes. Open a note, click the globe in the toolbar, and choose Publish this note. That adds
publish: trueto the note's properties. The globe is highlighted on notes that are on the site; the same menu unpublishes them.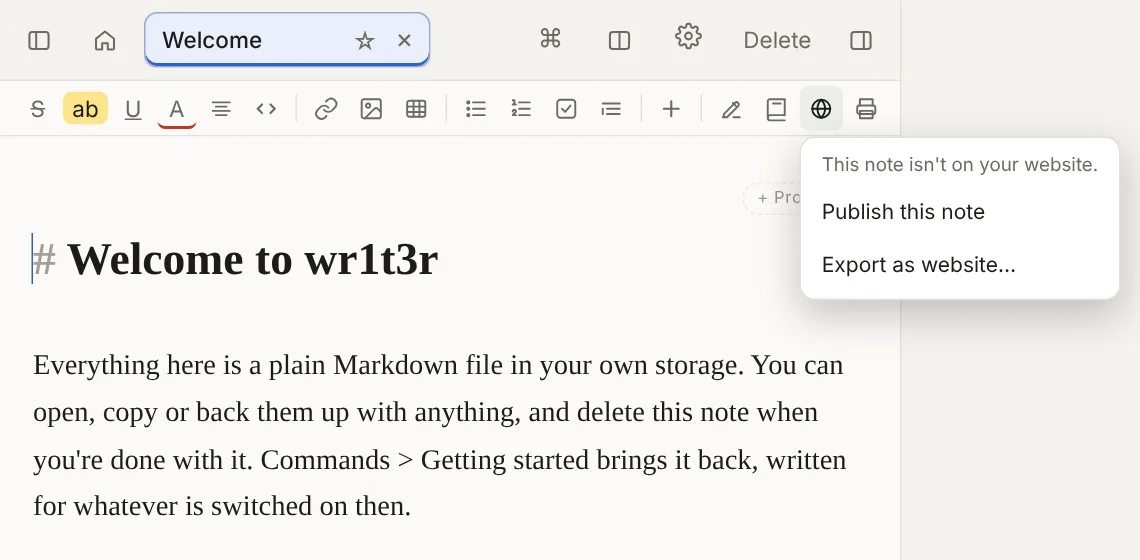
-
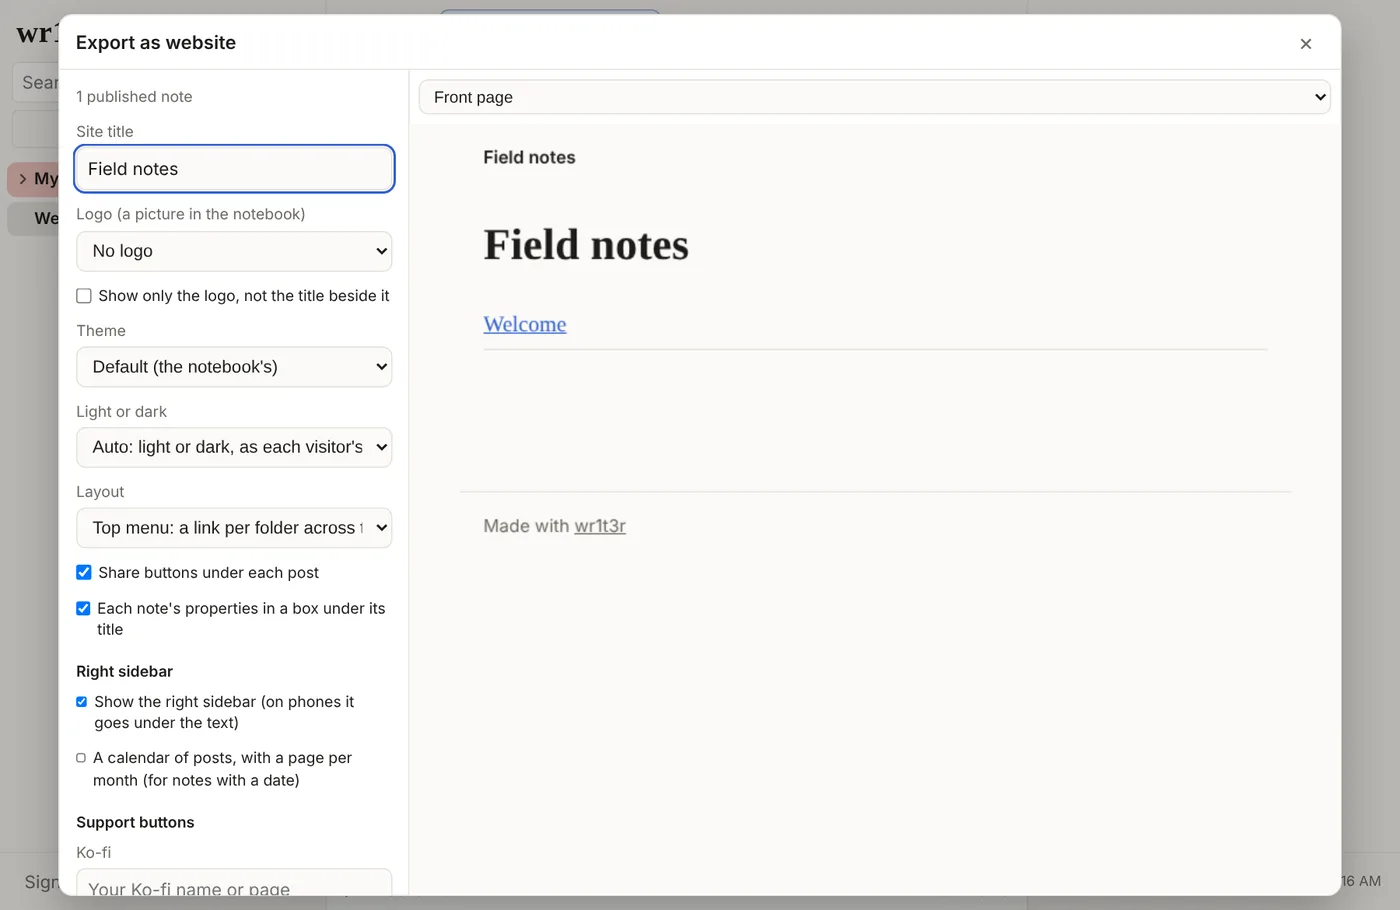
Set up the site. In the globe menu, choose Export as website…. Give the site a title, pick a theme, light or dark, and a layout (a menu across the top, or folders down the left as in the app). Add Ko-fi, Patreon or your own link, and where else to find you. The preview on the right shows any page as visitors will see it.
-
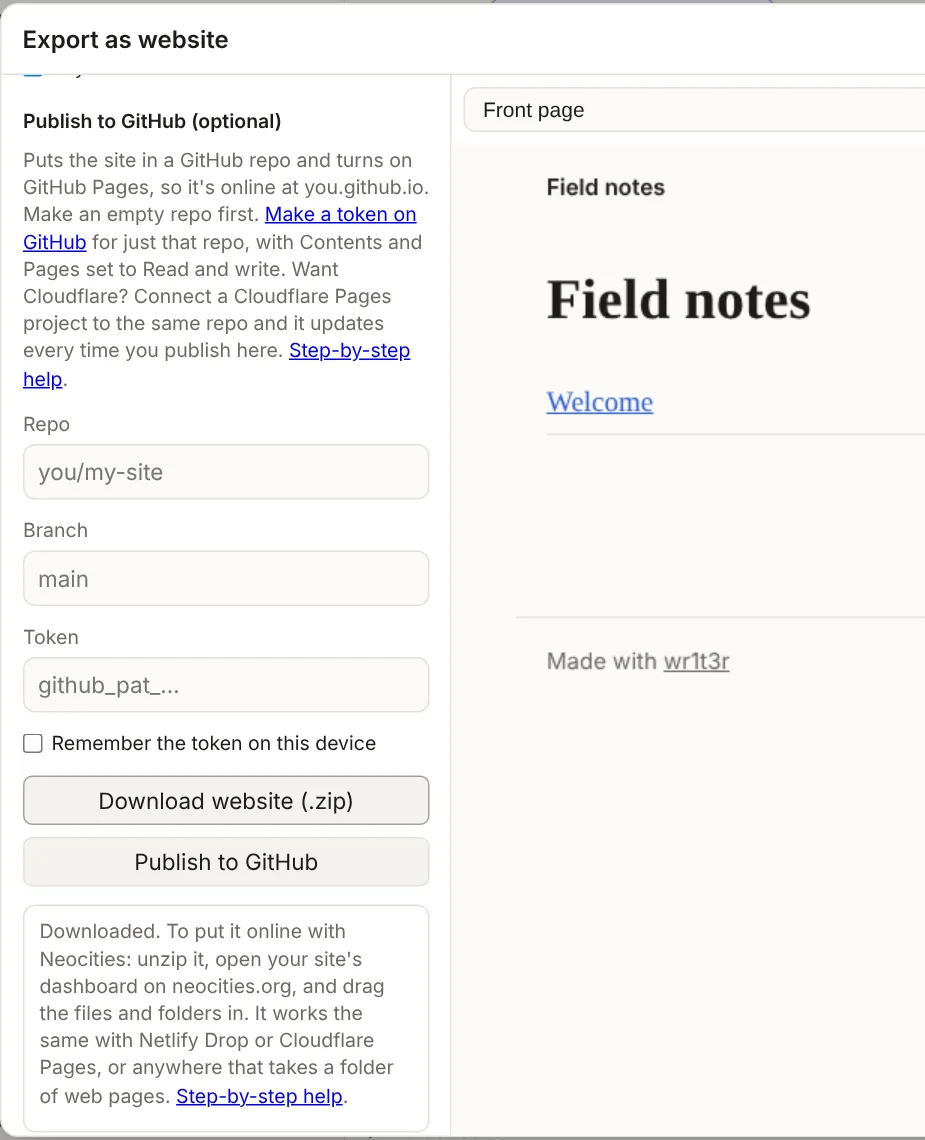
Put it online. Download it as a .zip for Neocities (or any host that takes a folder of web pages), or send it straight to GitHub Pages. Both are free.
Links to other notes stay links when those notes are published too. %% comments %% never go on the site. To show a note's likes and replies from Bluesky, add a bluesky property with the Bluesky post's address.
Putting the site on Neocities
-
Make a site at neocities.org. The free plan is plenty. The name you pick becomes the address: yourname.neocities.org.
-
Download the site from wr1t3r. In Export as website, click Download website (.zip). Leave Include audio and video off; Neocities' free plan won't take those files.
-
Unzip it. On a Mac, double-click the .zip. On Windows, right-click it and choose Extract All. You get a folder with
index.htmland the rest of the site inside. -
Upload the files. On Neocities, open your site's dashboard (Edit Site). Open the unzipped folder, select everything inside it, and drag it all onto the Neocities page. Folders go up with their contents. Your
index.htmlreplaces the one Neocities started you with. -
Visit yourname.neocities.org. That's your site.
Updating it
Download again and drag the new files in; they replace the old ones. Uploading doesn't delete anything, so when you unpublish a note, wr1t3r lists the pages to delete from your Neocities dashboard.
Putting the site on GitHub Pages
wr1t3r can send the site to GitHub itself, so there's nothing to unzip or drag. You do the setup once.
-
Make a free account at github.com if you don't have one.
-
Make a repository for the site: the + at the top right of GitHub, then New repository.
- Name it what you like, say
my-site. The site will be at yourname.github.io/my-site. Name ityourname.github.ioinstead and the site is at yourname.github.io itself. - Choose Public. GitHub Pages only works on public repositories on the free plan.
- Nothing else needs ticking. Click Create repository.
- Name it what you like, say
-
Make a token so wr1t3r can write to that one repository. Go to github.com/settings/personal-access-tokens/new (or your picture, Settings, Developer settings, Personal access tokens, Fine-grained tokens, Generate new token).
- Name it
wr1t3rand pick how long it lasts. - Under Repository access, choose Only select repositories and pick your site's repository.
- Under Permissions, add Contents and Pages, and set both to Read and write.
- Click Generate token and copy it. GitHub only shows it once.
- Name it
-
Publish from wr1t3r. In Export as website, scroll to Publish to GitHub. Type the repository as
yourname/my-site, leave the branch asmain, paste the token, and click Publish to GitHub. Tick Remember the token on this device if you don't want to paste it each time.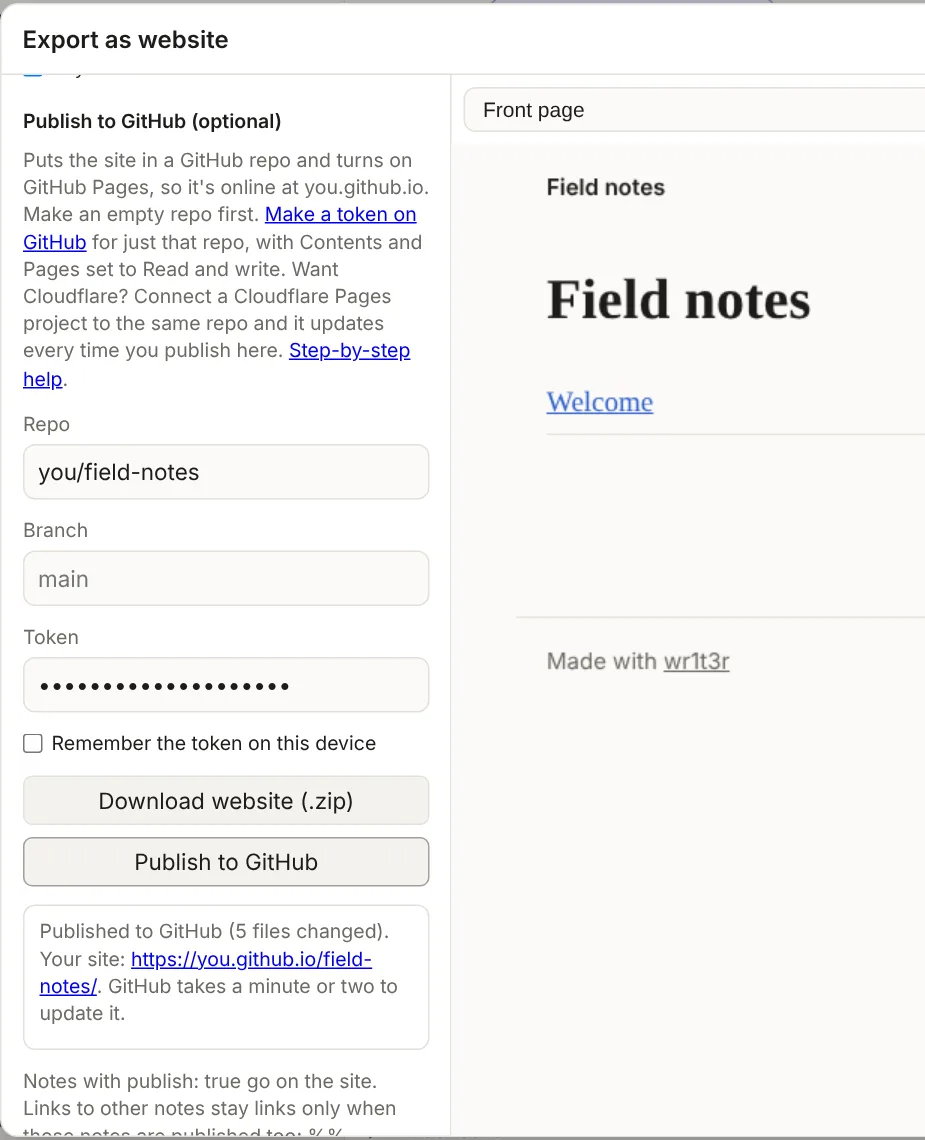
-
Wait a minute or two, then open the address wr1t3r shows. The first publish turns GitHub Pages on for you.
Updating it
Click Publish to GitHub again. Only files that changed are sent, and pages you've unpublished are removed. Anything else in the repository, like a README, is left alone.
If something goes wrong
- "GitHub didn't accept the token": it was copied short, or it has expired. Make a new one the same way.
- "The token can't see a repo called…": check the spelling, and that the token was made for that repository.
- "The token can't write to that repo": edit the token on GitHub and set Contents to Read and write.
- wr1t3r couldn't turn Pages on: in the repository on GitHub, open Settings, then Pages. Under Source choose Deploy from a branch, pick main and / (root), and save.
The token goes from your browser straight to GitHub. wr1t3r never sees it or your site. If you tick Remember, it's kept in this browser only; you can delete the token on GitHub at any time.
Cloudflare Pages, from the same GitHub repo
Prefer Cloudflare? Publish to GitHub as above, then let Cloudflare watch the repository. In the Cloudflare dashboard, create a Pages project, connect it to GitHub, and pick your site's repository. There's no build step: leave the build command empty and the output folder as the top of the repository. Every time you click Publish to GitHub, Cloudflare picks up the change.
You can also upload the unzipped folder to a Cloudflare Pages project by hand, the same way as Neocities.